Don’t Panic as Tax Time Looms Near!
10 Tips to Organize Tax Documents Now and Throughout the Year
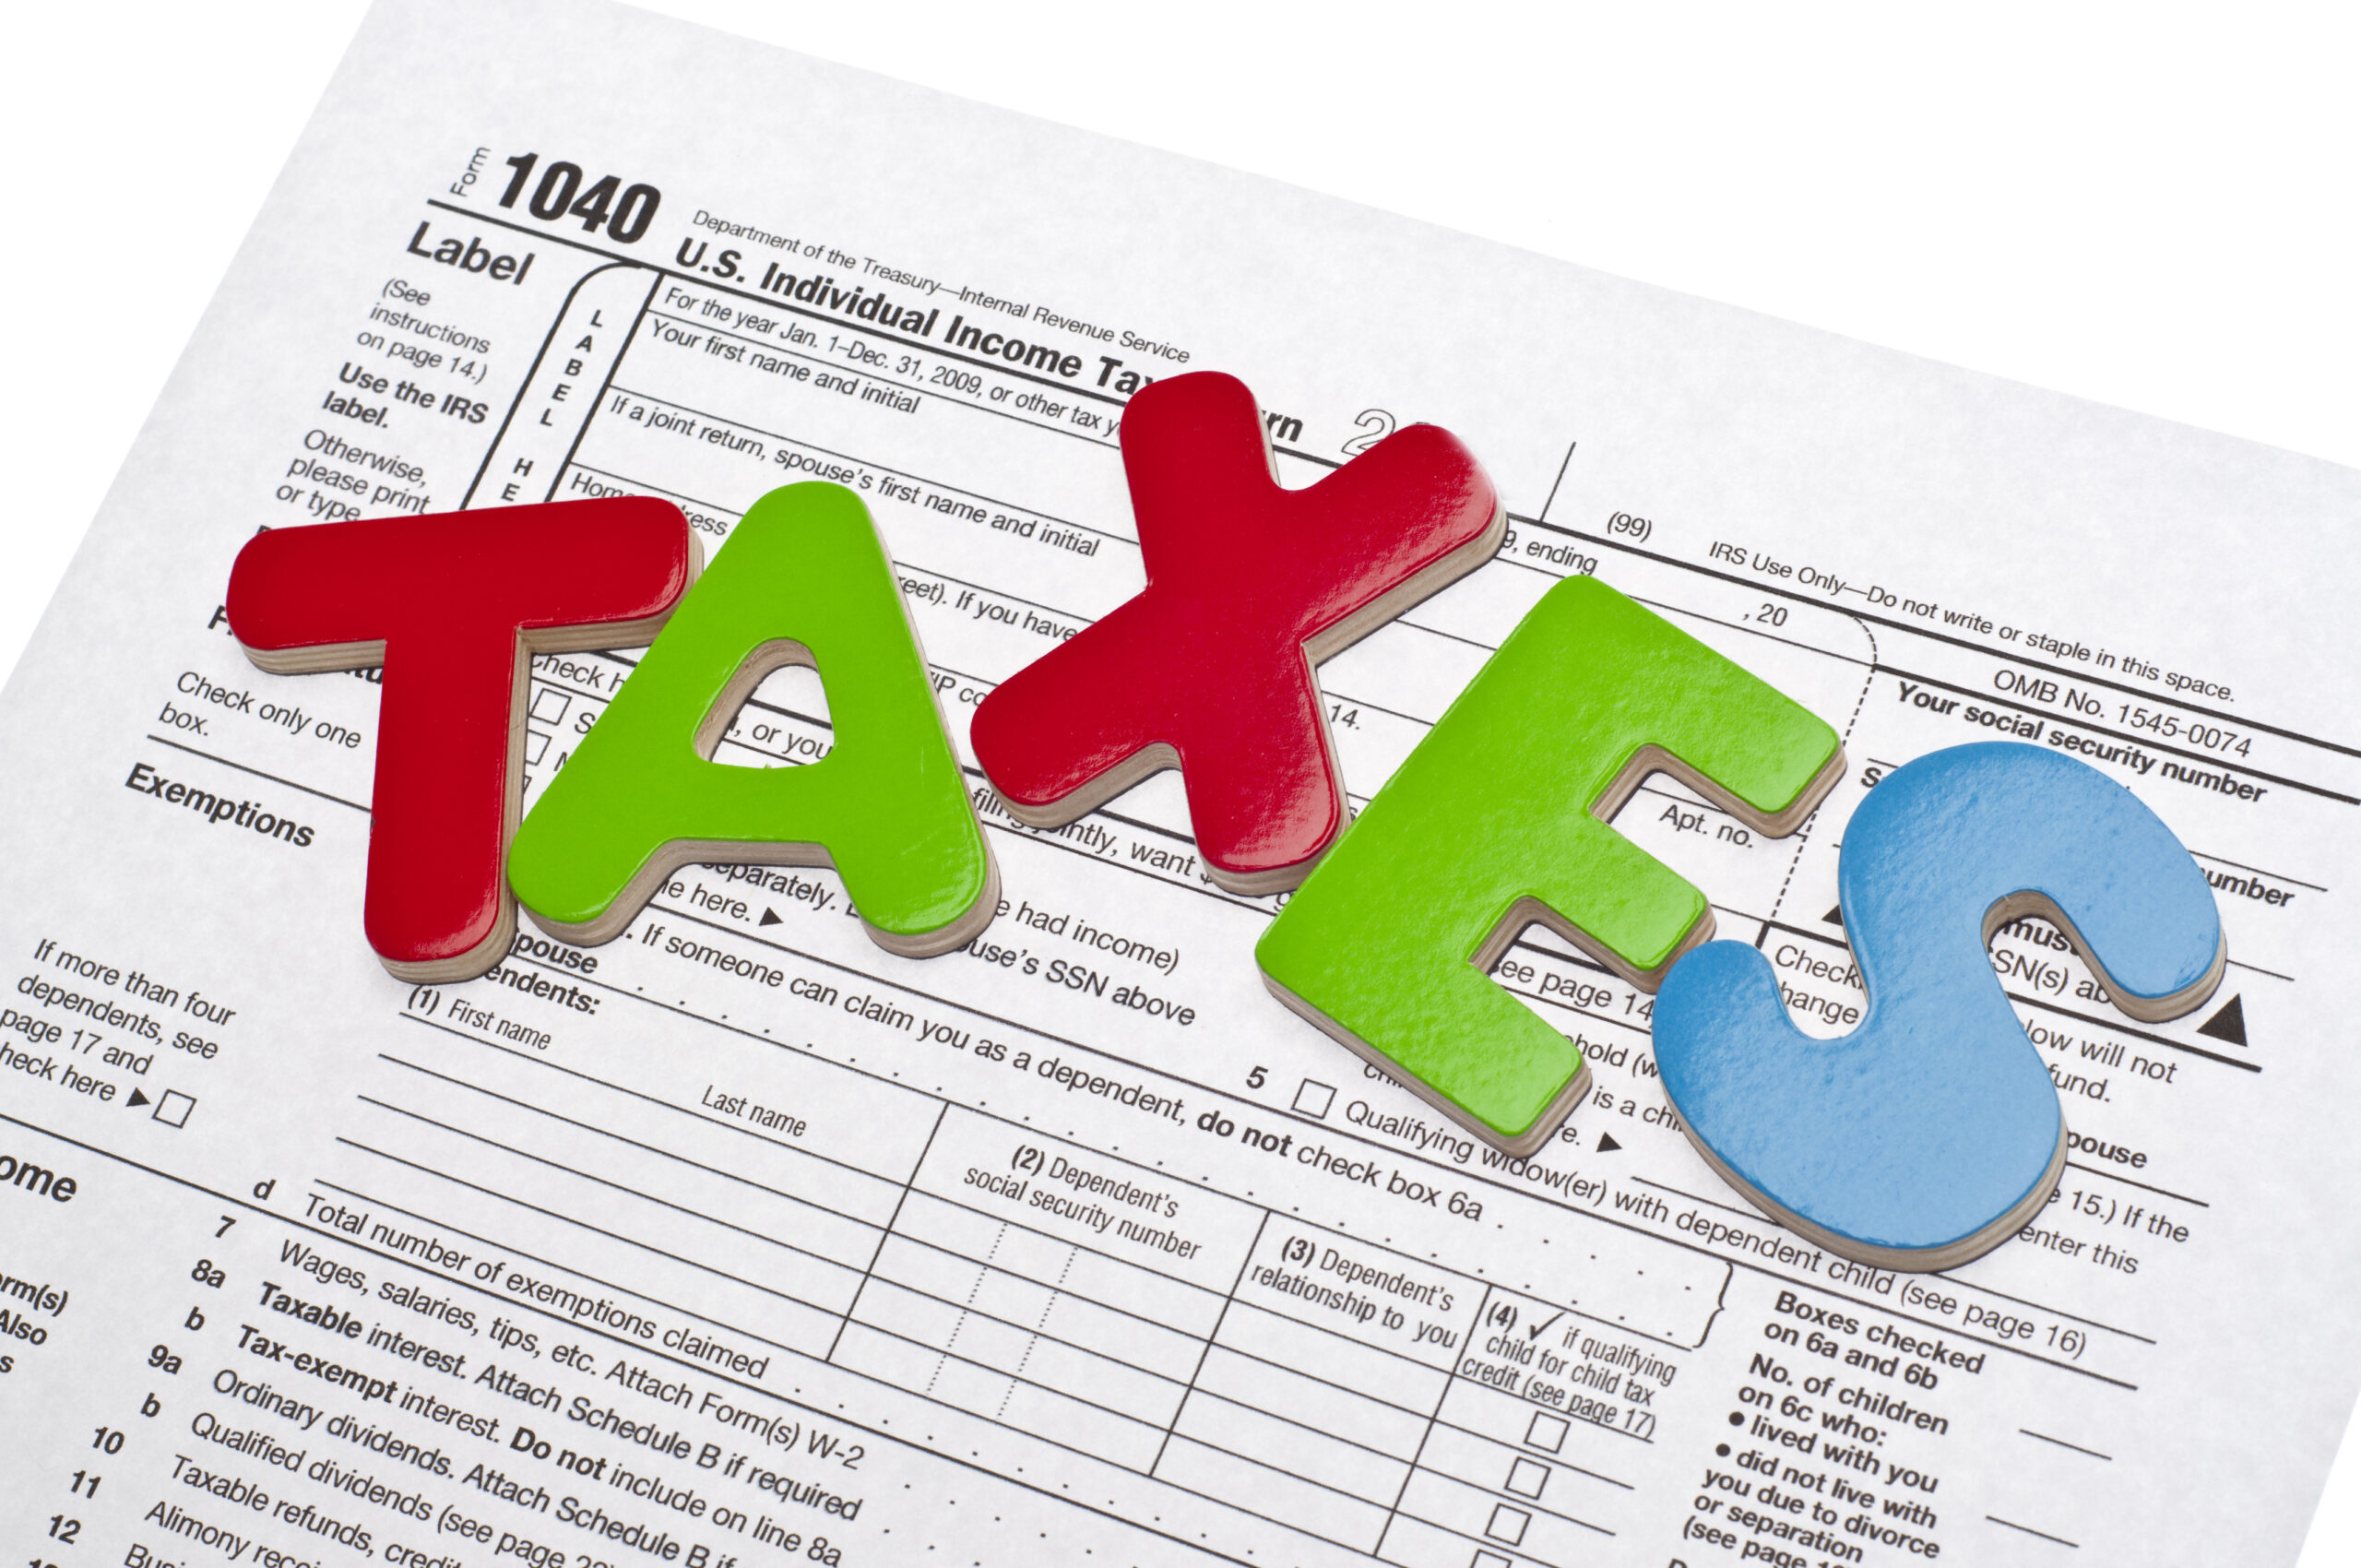
Tax season is here… again! Sometimes it feels as if tax time rolls around a little too quickly, especially if you have yet to gather and organize tax documents in order to get the most out of your tax return.
How do you make the process less time-consuming and less stressful? The key is to organize tax documents now and also continue to do so throughout the year. Not only will you be prepared when your accountant is ready to tackle your return, but if you expect a refund, you’ll be in a position to get your money more quickly. Here are my tips for making the process smoother and less stressful now and throughout the year.
Set Up a System
NOW: Ask your tax accountant for a paper or electronic tax organizer to make it easier to organize tax documents and determine what is needed to submit this year’s paperwork. Electronic organizers typically include checklists of documents you need to provide while allowing you to enter information on a secure, password-protected website 24/7 set up by your accountant. Even if your accountant does not offer anything to organize tax documents, most accept digital documents, giving you options on how to submit the information needed to complete your return.
ONGOING: Set up a digital or paper filing system as early as possible so you can continuously add and organize tax documents throughout the year. If you prefer to deal with paperwork, set aside a clearly marked manila envelope, file folder or banker’s box to hold all of your tax documents. Mark the container with the tax year.
Go Digital

NOW: I no longer send paper files on behalf of my clients since I can scan and upload documents to a portal provided by the accountant. I can also send digital documents using email, Dropbox or Evernote so I can password protect the files. Another option is to use an app such as Shoeboxed, a cloud app that allows you to scan documents, organize receipts and create reports.
Going digital gives you another advantage – you don’t have to wait for documents to show up in your mailbox and can instead download them from the Internet. For instance, Schedule K-1s take forever to arrive via the mail. Check Tax Package Support to see if your financial institution is listed, and if so, verify when its K-1s will be available so you can download them.
ONGOING: Once you scan your documents and make a copy for safekeeping, shred the documents. (See below for our tip about storing documents). If going digital and shredding paper documents seems scary, do a trial run by scanning one of your bank statements and seeing how it goes. If you like it, remove the scanning step mentioned above and go paperless. Also, sign up for online banking, and request all of your bills be sent electronically. Not only will your financial institutions love you for it, but I predict they will start charging for paper statements soon. You’ll be ahead of the game when this happens.
Use a Scanner
NOW: Organize tax documents with your smartphone camera or a scanner to simplify turning receipts, income information, and statements into digital documents. Even if you’re not ready to go digital, scanning documents means faded or damaged paperwork will never cause problems going forward. If you need to scan lots of documents, invest in a mobile or desktop scanning unit. Standalone scanners come in handy if you need to scan piles of paperwork or two-sided documents. The Fujitsu Document Scanner ScanSnap iX500 scans documents into searchable PDFs or JPEGs. You can also archive and upload your scanned documents to the cloud using Fujitsu’s ScanSnap productivity software.
ONGOING: Set aside time each month to scan documents. Be vigilant about removing scanned documents from your phone as soon as you’ve stored them to keep thieves from stealing your personal data.
Sort and Categorize Documents
NOW: Sort and organize tax documents into folders to save time when prepping tax documents for your accountant. One option is to file documents by date and then organize them into the proper category. Or you can sort everything into three piles, an option recommended by the IRS:
Income Information
Includes:
Employment – pay stubs, W2s and 1099s
Rental property, investment, and unemployment income
Benefits from Social Security
Credit card statements
Bank and other financial statements
Income Adjustments
Includes:
Homebuyer tax and green energy credits
Contributions to an IRA and Medical Savings Account
Interest from mortgages and student loans
Self-employed health insurance
Moving expenses
Credits and Deductions
Includes:
Education, childcare and adoption costs
Charitable contributions and donations
Business expenses
Medical, job and moving expenses
Losses from casualty or theft
You can also use the thorough checklist on Nerdwallet to sort and categorize your documents.

ONGOING: Simplify the process by setting aside time every month to sort, file and organie tax documents.
Do a little prep work, such as using a highlighter to mark deductions on your credit card statements. If you go digital, download credit card and banking statements monthly, rather than wait until tax time to download all of them at once.
Save even more time by using a personal finance software program such as Quicken or Mint, to set up categories, track your

tax-deductible expenses and generate reports for your accountant.
Use the categories the software provides or set up your own. Then simply print a report for that category in preparation for tax time.
Gather Additional Information
NOW: You’ll also need to gather the following, as applicable:
Social Security numbers for yourself, spouse and dependents
TIN or EIN numbers to report business income/losses
Business mileage logs
Charity receipts
Investment Losses (more info at https://blog.mint.com/how-to/record-keeping-tips-02072011/)
Form 941, Employer’s Quarterly Federal Tax Return to report payroll taxes
Direct Deposit information, including the bank account and routing numbers, to receive your tax return more quickly.
Electronic Federal Tax Payment System payment reports
ONGOING: Create a spreadsheet containing information that rarely or never changes, such as your SSN, TIN or EIN numbers and direct deposit information. Update the information as needed.
Store Documents
NOW: Storing your tax documents and returns is key to keeping good records. The small size of flash drives make them the latest, greatest device for storing data as they can be easily stored in your office, fireproof safe or in a safe deposit box. That said, I recommend storing your tax information in the cloud. Read the cloud storage tips we recommend for beginners. With cloud storage, you can access your data from any device with an Internet connection. Storing data in the cloud also means your documents are safe from natural disasters and fires. Many companies, such as Google, Microsoft, Apple and Dropbox offer limited free cloud storage. For instance, Google Drive provides 15GB of free storage space while Apple iCloud offers 5GB. If you need more, most of these companies offer additional space with plans starting at just a few dollars per month.
ONGOING: Don’t toss documents once your return is filed. A good rule of thumb is to keep all tax-related documents for at least three years. If you have business expenses, such as equipment or property, keep the receipts for as long as you own them.
Create Your Own Return
NOW: Most tax preparation software, such as Turbo Tax uses wizards to walk you through the process of creating a return. Other available programs include TaxAct, CreditKarma, and H&R Block. Most tax software allows you to import Quicken data directly into the program. If your income is below $64,000, use FreeFile, a program offered by the IRS for completing Federal individual income tax returns. Of course, if you have any issues, visit the IRS, or call the toll-free IRS helpline.
ONGOING: Most tax software programs accept imported data from Quicken or Mint. See the above tip on sorting and categorizing documents to make the import process go more smoothly.
Use Smartphone Apps

NOW/ONGOING: A variety of smartphone apps are now available to organize tax documents and financial information. For tracking receipts, Expensify creates scans from your receipts, allowing you to add notes or tags to each transaction for organizing expenses and generating reports. Another more basic app, Smart Receipts, takes pictures of receipts, then automatically emails them to you each week for further organize on your computer. Download online calendars, such as Google Calendar, to keep track of expenses by date or those related to appointments.
Expensify helps you get reimbursed more quickly by your employer while also providing a record of potential tax deductions.
Set Up Automatic Imports
NOW/ONGOING: Set up Quicken or Mint to automatically import transactions from your financial or bank accounts directly into the software. You can then use notes or tags to highlight transactions that will be part of your tax return. Use smartphone apps, such as FileThis, to automatically retrieve monthly statements from financial institutions and utility companies as soon as they’re available.
Review Withholding Deductions
NOW/ONGOING: When you have new deductions, such as educational classes or a new business, discuss what kinds of expenses to look for with your accountant. Do this as close to the start of the new tax year as possible to take full advantage of all deductions. Do the same when a life-changing event occurs, such as a birth, divorce or a death. That way you can decide whether you want to receive a bigger tax refund or have more cash in each paycheck.
Once you organize tax documents by using these tips, you’ll never be in the precarious position of struggling to file your return by April 15th. You won’t have to wait until late spring or early summer for any expected refunds since you‘ll be prepared to file your return as soon as all of your documents in order. Best yet, you’ll manage less and live more, giving you time to pursue the activities you love most.


